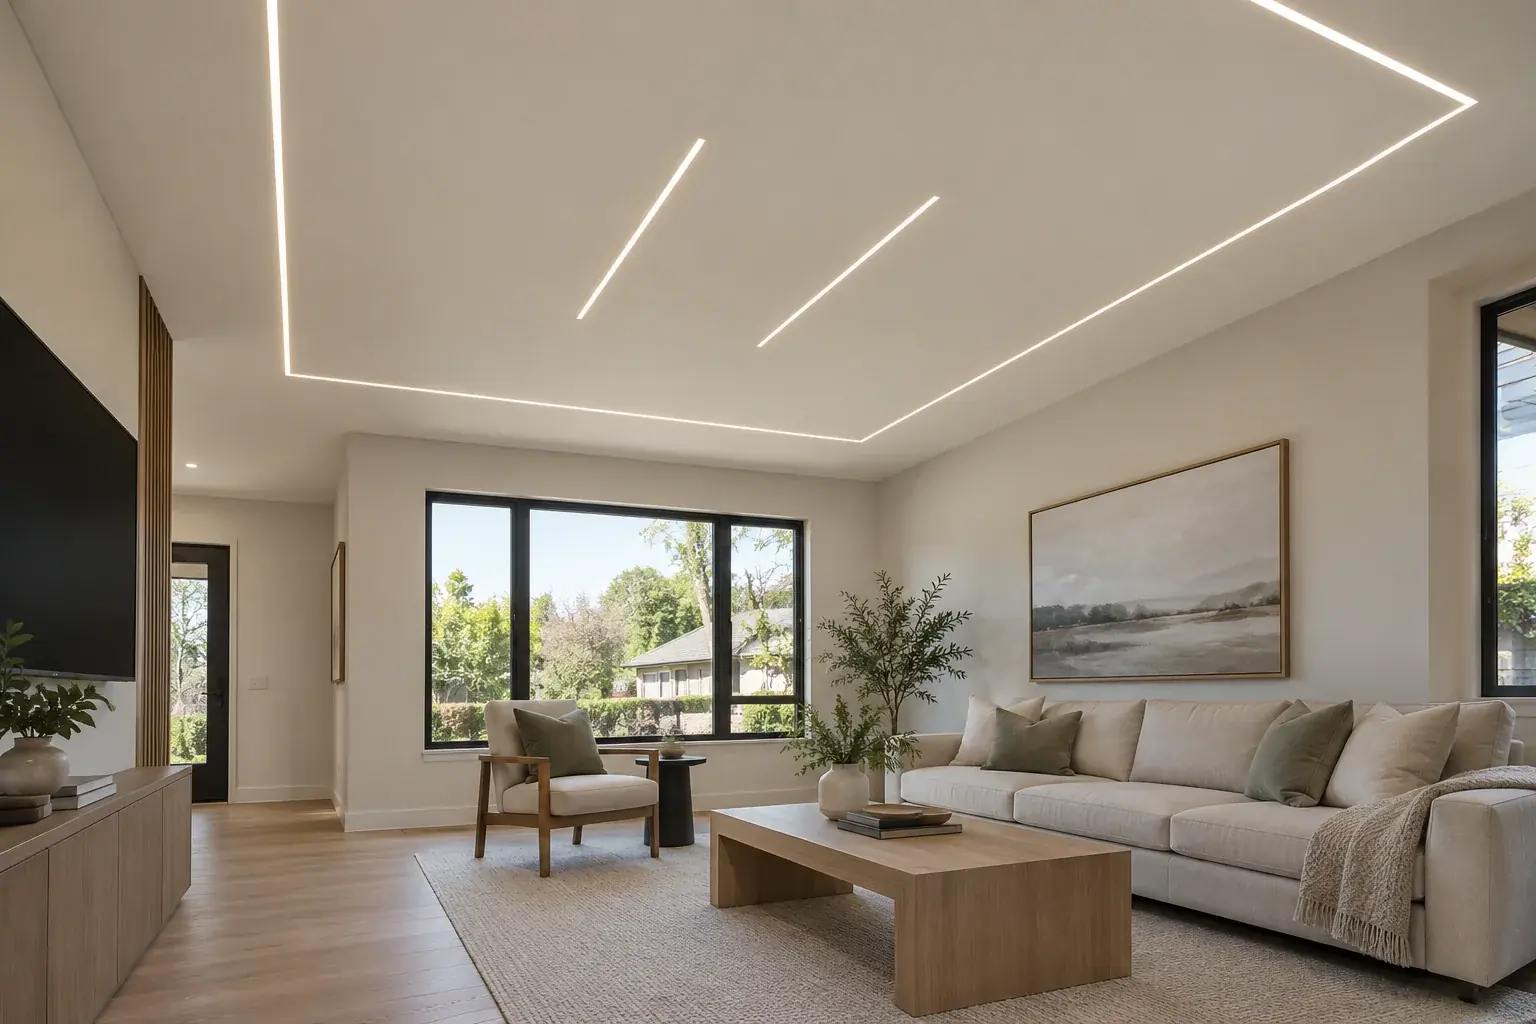
Start with the room, drawn to scale.
A ceiling design drawing begins as a plan view: the outline of the room with its doors, windows and anything fixed, and the proposed ceiling shape drawn over it at the same scale. That is what lets you see whether a tray border lands over the sofa or over the walkway, and whether a line of light runs parallel to the wall or fights the window.
A photo saved from a listing or a social feed is a reference, not a drawing. It shows a shape in someone else’s room. The drawing shows the shape in yours, with its actual proportions. Ask for the new ceiling to be drawn onto your room before anyone talks about a price.
Write the finished height of every level.
Most decorative ceilings in existing homes are added below the surface you have, so every new element lowers something. The drawing should state the existing ceiling height and the finished height under each new border, soffit or channel. A small section sketch through the border, showing its depth and width, answers more questions than a shaded rendering.
These numbers are what an installer checks on site. If the existing ceiling is uneven, or the joists run the wrong way for a planned recess, the heights on the drawing change. Treat the first drawing as a proposal and expect it to be revised after a visit.
- Existing ceiling height, including its highest and lowest points
- Depth and width of each border, soffit or drop
- Finished height under the lowest new element
- Clearance to door tops, window trim and any tall furniture
Mark every light, switch and driver.
If the design includes concealed lighting, the drawing should show where the light source runs, where its driver or power supply sits, and how that equipment will be reached later. Cove strips, recessed linear channels and downlights all need different depths and wiring, so the type of fixture belongs on the drawing even before a specific product is chosen.
Add the centre point of any ceiling fan or pendant that stays, and the location of switches and dimmers. A tray drawn around a fan that is off-centre looks wrong from the sofa; the drawing is the place to notice that, not the finished ceiling.
Say how the new surface meets the old one.
New drywall meets an existing ceiling somewhere. The drawing, or a note beside it, should say whether the surrounding ceiling is smooth or textured, how the new work will be blended into it, and where painting starts and stops. Vents, smoke detectors and speakers that need to move should be marked too.
This note prevents the most common surprise at the end of a project: a crisp new border next to an old textured field that now looks worse by comparison, with nobody sure whose job it was to address it.
Use the drawing to compare bids.
Give the same drawing to every installer you ask for a price, and ask each one to quote that drawing rather than their own interpretation of it. When someone proposes a change, ask for a revised drawing with a date on it. A set of numbers that refer to different drawings cannot be compared. Our guide to what changes the cost of a custom ceiling explains what those numbers should contain.
You do not need finished plans to start a conversation. Room dimensions, the ceiling height, a few photos of the room and the fixtures that stay are enough to get a first drawing made. You can attach photos when you request an estimate.
A few more questions.
Do I need an architect for a tray ceiling drawing?
Usually not for a decorative change in one room. A clear scaled sketch from the installer or a designer is often enough. Structural changes, load-bearing questions and permit requirements are a separate matter and should be raised early.
What if I only have a photo I like?
A photo is a starting point, not a drawing. Bring it, together with your room dimensions and ceiling height, and ask for the shape to be drawn onto your actual room before any price is discussed.
Should the drawing name the lighting product?
At least by type and size. A cove strip, a recessed linear profile and a downlight need different depths and different wiring. The brand can wait, but the product type needs to be decided before framing.
The next step.
Explore tray ceilings in the Iowa City area, or request an estimate with your room details.
These guides help you plan a conversation. They are not room-specific construction instructions or a substitute for an installer assessing your home. Images illustrate design ideas rather than completed Petra work.